 By Graham Fisher
Updated November 2026
DIY baby proofing doors comes down to three jobs: stopping small fingers from getting pinched, keeping doors from slamming or swinging into a toddler, and blocking access to rooms that aren’t safe to enter. You can handle most of this in an afternoon with basic tools and inexpensive hardware. This guide walks through each step in order.
Step 1: Identify Which Doors Need Attention
Not every door carries the same risk. Start with the doors your toddler opens most often and the ones that lead to hazards like stairs, bathrooms, laundry rooms, and garages. Pay special attention to heavy solid-core doors and doors that close with spring hinges, since these create the strongest pinch force.
Step 2: Protect the Hinge Side with Pinch Guards
Most finger injuries happen at the hinge gap, where a door’s edge closes against the frame. Mount a hinge-side pinch guard, a soft fabric or foam strip that wraps around the hinge knuckles, to fill that gap. Check that the guard sits flush against the door so it doesn’t snag on the frame during closing.
For doors with larger gaps, a continuous rubber or foam door edge guard works better. Measure the door’s height first and cut the strip about an inch shorter than the full length, so it doesn’t bind at the top or bottom.
Step 3: Control Door Movement
Doors that swing hard can knock a child over or trap a hand. You have two main options:
- Door stops: Screw a rubber wedge or wall-mounted stop at the point where the door would hit the wall or furniture. Mount it on the wall behind the door, not on the door itself, so it holds firm.
- Door closers: A hydraulic or spring closer slows the door before it latches. Adjust the closing speed so the door takes at least three to five seconds to shut.
Step 4: Block Access to Hazardous Rooms
For rooms you need closed off, such as a bathroom or a home office with cords, you can install a doorknob cover or a sliding latch positioned high on the door. Before installing any barrier that uses adhesive or screws, confirm your rental agreement allows it. For more on securing sliding doors specifically, see Sliding Door Locks for Baby Proofing: A Step-by-Step Guide (2026).
Lever-style handles need different hardware than round knobs. If your toddler can already reach and turn the handle, read Baby Proofing Door Handles: 5 Best Lever Locks Compared (2026) before buying.
Step 5: Check the Door Frame and Surrounding Hazards
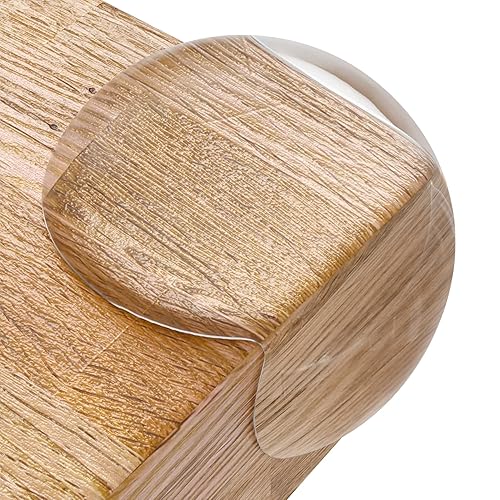
Doors often sit near other dangers. Check the trim for sharp edges and round them off with foam corner guards, which you can read about in DIY Baby Proofing Sharp Corners: 6 Steps to Soften Every Edge. If a door opens toward a tall cabinet or piece of furniture, anchor that furniture to the wall as well.
Tools and Materials Checklist
- Hinge-side pinch guards or continuous door edge guard
- Rubber door stops or wall-mounted door stops
- Adjustable door closer (optional)
- Doorknob covers or high-mounted sliding latch
- Drill with bits, screwdriver, and wall anchors
- Tape measure and pencil
- Stud finder for mounting stops and closers securely
Common Mistakes to Avoid
- Mounting door stops on the door itself, where they can crack or come loose.
- Using adhesive-only guards on painted or textured surfaces that won’t hold.
- Installing a pinch guard that is too short, which leaves gaps at the top or bottom of the hinge.
- Setting a door closer so fast it still pinches small fingers.
- Assuming a latch is child-proof without testing it yourself from a toddler’s height.
Recommended Gear
A continuous foam door edge guard is a practical choice for doors with wide hinge gaps, since one strip covers the full edge. View on Amazon
Rubber wall-mounted door stops are useful for protecting walls and keeping doors from swinging into furniture. View on Amazon
A hydraulic door closer slows the door before it latches, reducing pinch risk on heavy doors. View on Amazon
FAQ
Can I baby proof doors in a rental?
Often yes, but check your lease first. Choose removable options like adhesive-free pinch guards, pressure-mounted stops, or tension-fit latches that won’t leave marks.
How high should a door latch be placed?
Mount latches high enough that your toddler cannot reach them from the floor, usually above 48 inches. Test the latch yourself by kneeling to your child’s eye level and trying to open it.
Do I need to baby proof every door in the house?
Not necessarily. Focus on doors that lead to stairs, bathrooms, garages, and rooms with chemicals, cords, or heavy furniture, then check the rest as your child grows and gains new skills.
Conclusion
DIY baby proofing doors is manageable with a few targeted steps: guard the hinge side, control door movement, and secure rooms that need to stay closed. Work through your home one door at a time, and recheck each one every few months as your toddler becomes stronger and more curious. If you have concerns about a specific door or injury risk, consult a qualified installer or your pediatrician.
Related reading
- Baby Proofing Cupboard Doors Review: Is It Worth It? (2026)
- Where to Buy Furniture Anchors: 5 Best Picks for Baby Proofing (2026)
- Viking Stove Baby Proofing Review: Features and Performance
Ready to choose one?
About Graham Fisher
Graham Fisher is part of our editorial team and reviews and edits our childproofing guides, checking product details against manufacturer specifications and owner feedback.