 By Graham Fisher
Updated November 2026
The history of baby proofing is a story of parents slowly learning which household dangers hurt children most and building better tools to stop them. In this guide, you will see how childproofing moved from simple advice to the room-by-room system used today, and how that history can help you prioritize your own home. Nothing here replaces a professional safety assessment, so consult your pediatrician or a certified childproofing specialist if you have specific concerns.
Early Beginnings: Warnings Before Products
For most of history, protecting young children meant constant supervision and rules rather than devices. Households kept fires, lamps, sharp tools and poisons out of reach by placing them high on shelves or behind closed doors. Public health concern grew sharply in the twentieth century as accidental poisoning, burns and falls became better documented in hospital records and health bulletins. That documentation pushed manufacturers and parents toward physical solutions.
Shopping for one? See our guide: Baby Proofing Service Houston: 7 Best Options Compared (2026).
The Product Era: Gates, Locks and Covers
Once safety experts began tracking injuries by cause, the focus shifted to hardware. Several product types emerged in roughly this order:
- Gates to block stairs and kitchen entrances, which were among the first dedicated childproofing items sold to households.
- Cabinet and drawer latches to keep children away from cleaning supplies and medications.
- Outlet covers to reduce the risk of finger and object contact with electrical receptacles.
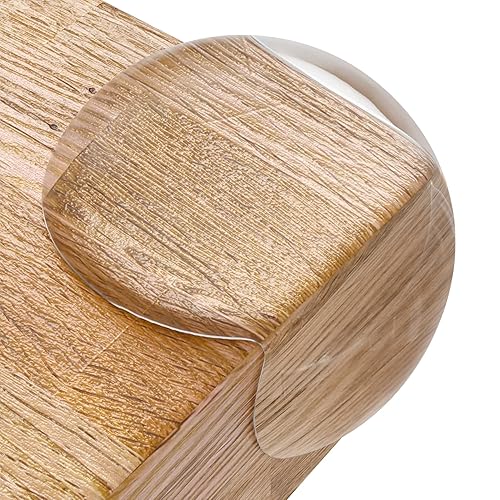
- Corner guards and furniture anchors to address tip-over and impact injuries as toddlers began climbing.
Each category responded to a specific injury pattern, which is why modern checklists still follow the same logic: identify the hazard, then match a device to it.
Modern Childproofing: From Single Items to Whole-Home Plans
Today, childproofing is less about one gate and more about a complete plan. Safety guidance now emphasizes sequence: secure the heaviest risks first, then move through the house room by room. The table below shows how the focus has changed across eras.
| Era | Main approach | Typical focus |
|---|---|---|
| Pre-1970s | Supervision and high storage | Fire, poison, falls |
| 1970s to 1990s | Single-purpose devices | Gates, outlets, cabinets |
| 2000s onward | Room-by-room audits | Furniture tip-over, water, sleep, cords |
A room-based approach works because toddler risks cluster in predictable places. The kitchen concentrates heat and chemicals, while bathrooms add drowning risk and bedrooms bring strangulation hazards from cords and crib items. For a practical walkthrough, see Safety Proofing Home for Baby Checklist: 12 Room-by-Room Steps and Full House Baby Proofing: A Room-by-Room Step-by-Step Guide (2026).
Why the History Still Matters for Your Home
Knowing how childproofing developed helps you avoid two common errors: relying on a single device, and assuming an old home is already safe. Many current guidelines grew out of injury data, so the same priorities still apply. Start with the hazards that cause the most serious harm, then add lower-risk items as your child grows. Why Baby Proofing Is Important: 5 Hazards It Prevents in Toddler Homes explains the injury patterns behind these priorities in more detail.
Steps to apply this history to your home
- Walk each room at toddler height and note anything reachable, climbable or pullable.
- Secure heavy furniture, TVs and bookcases to the wall with anchors.
- Latch cabinets holding cleaners, medicines and small batteries.
- Cover or block outlets and keep cords out of reach.
- Install gates at stairs and any room with hazards you cannot fully remove.
- Recheck every three to six months, since toddlers gain climbing skills quickly.
Common Mistakes
- Treating a gate as a substitute for securing furniture or cabinets.
- Using pressure-mounted gates at the top of stairs, where a fall can be severe.
- Assuming a childproof cap means a cabinet is secure; test each latch yourself.
- Forgetting bathrooms and laundry rooms, where drowning and chemical risks are high.
- Stopping checks once the child starts walking, when climbing and reaching often increase.
Recommended gear
Furniture anchors fit the tip-over hazards that became a major focus in modern childproofing. View on Amazon
Cabinet latches address the chemical and medication risks that shaped the product era. View on Amazon
FAQ
Who started baby proofing?
No single person started it. Childproofing developed gradually as health records and injury reports showed which household items caused the most harm to young children.
Is childproofing only needed for toddlers?
No. Infants can face risks from falls, suffocation and small objects, and hazards change as a child becomes more mobile. Review your home as your child’s abilities grow.
Do older homes need more childproofing?
Often yes. Older homes may have outdated outlets, loose fixtures and unsecured furniture, so a full room-by-room check is worthwhile. A licensed electrician can help with any wiring concerns.
Conclusion
The history of baby proofing shows a steady move from warnings and supervision to targeted devices and room-by-room planning. Those lessons still guide sensible choices today. Use them to prioritize the biggest risks in your home first, and check again as your child grows.
Related reading
Ready to choose one?
About Graham Fisher
Graham Fisher is part of our editorial team and reviews and edits our childproofing guides, checking product details against manufacturer specifications and owner feedback.